I tried out one of my ideas for my editorial (day) look which is very wet looking: shimmery and glossy - the focus is on the eyes.
Products used:
Moisturiser: Aloe Soothing Day Cream (Body Shop)
Primer: Primed & Ready Illuminating Primer (Collection)
Foundation: 150 Buff Chamois (Revlon Colorstay) + 002 Vanilla (Revlon Photo Ready)
Concealer: Lasting Perfection 01 Fair (Collection)Blush: Hot Spice silver toned blush/ highlight (Makeup Revolution blush palette)
Highlight: White Pigment
Eyes: Silver eyeshadow (Makeup Revolution), Make it Happen eyeshadow (Revolution) + clear gloss (Maybelline)
Lashes: Black (Rimmel)
Brows: Clear lip gloss (Maybelline)
Lips: Clear lip gloss (Maybelline)
I started by moisturising and priming my model's face, then applied foundation and concealer (no powder for a dewy look). Then I applied the white pigment as a highlight. I tried to put some gloss on top of the highlight to add more shine, but the gloss took the foundation off so I just blended everything with the brush that I used to apply the foundation, then applied a bit of blush.

Eyeshadow without the gloss
Eyeshadow without the gloss
Eyeshadow without the gloss
Then, with a flat eyeshadow brush, I applied two layers of lip gloss all over her eyelids, focusing on the inner corners of her eyes. Lastly, I applied to coats of mascara on her top lashes and one on her bottom. I was not going to originally use mascara and that I why I did it after the gloss. I decided to use it anyway as I felt the eyes needed more definiton.

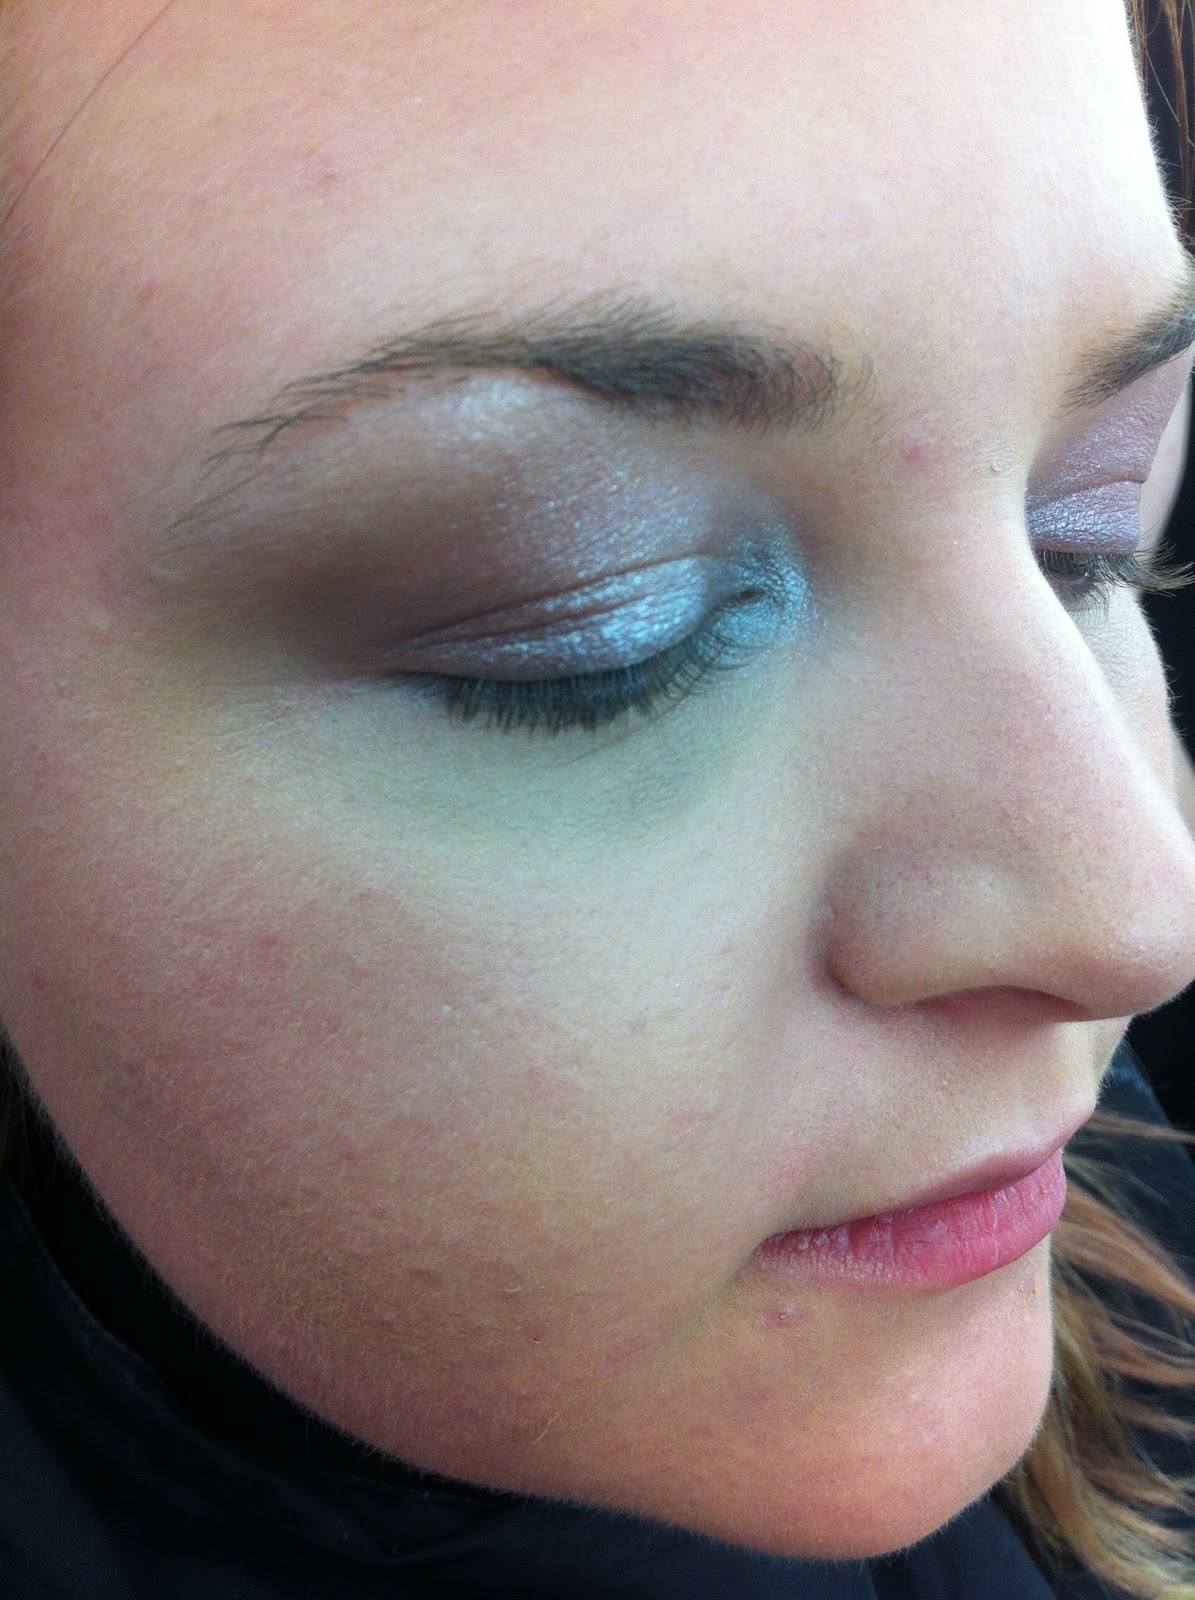
With the gloss

With the gloss

Final Look

Final Look
I took photos with my phone from different angles to catch the light (images above). I did not edit them or anything these were uploaded straight from my phone and, personally, I think the two colours look beautiful with the gloss on top and that is exactly what I wanted to create.
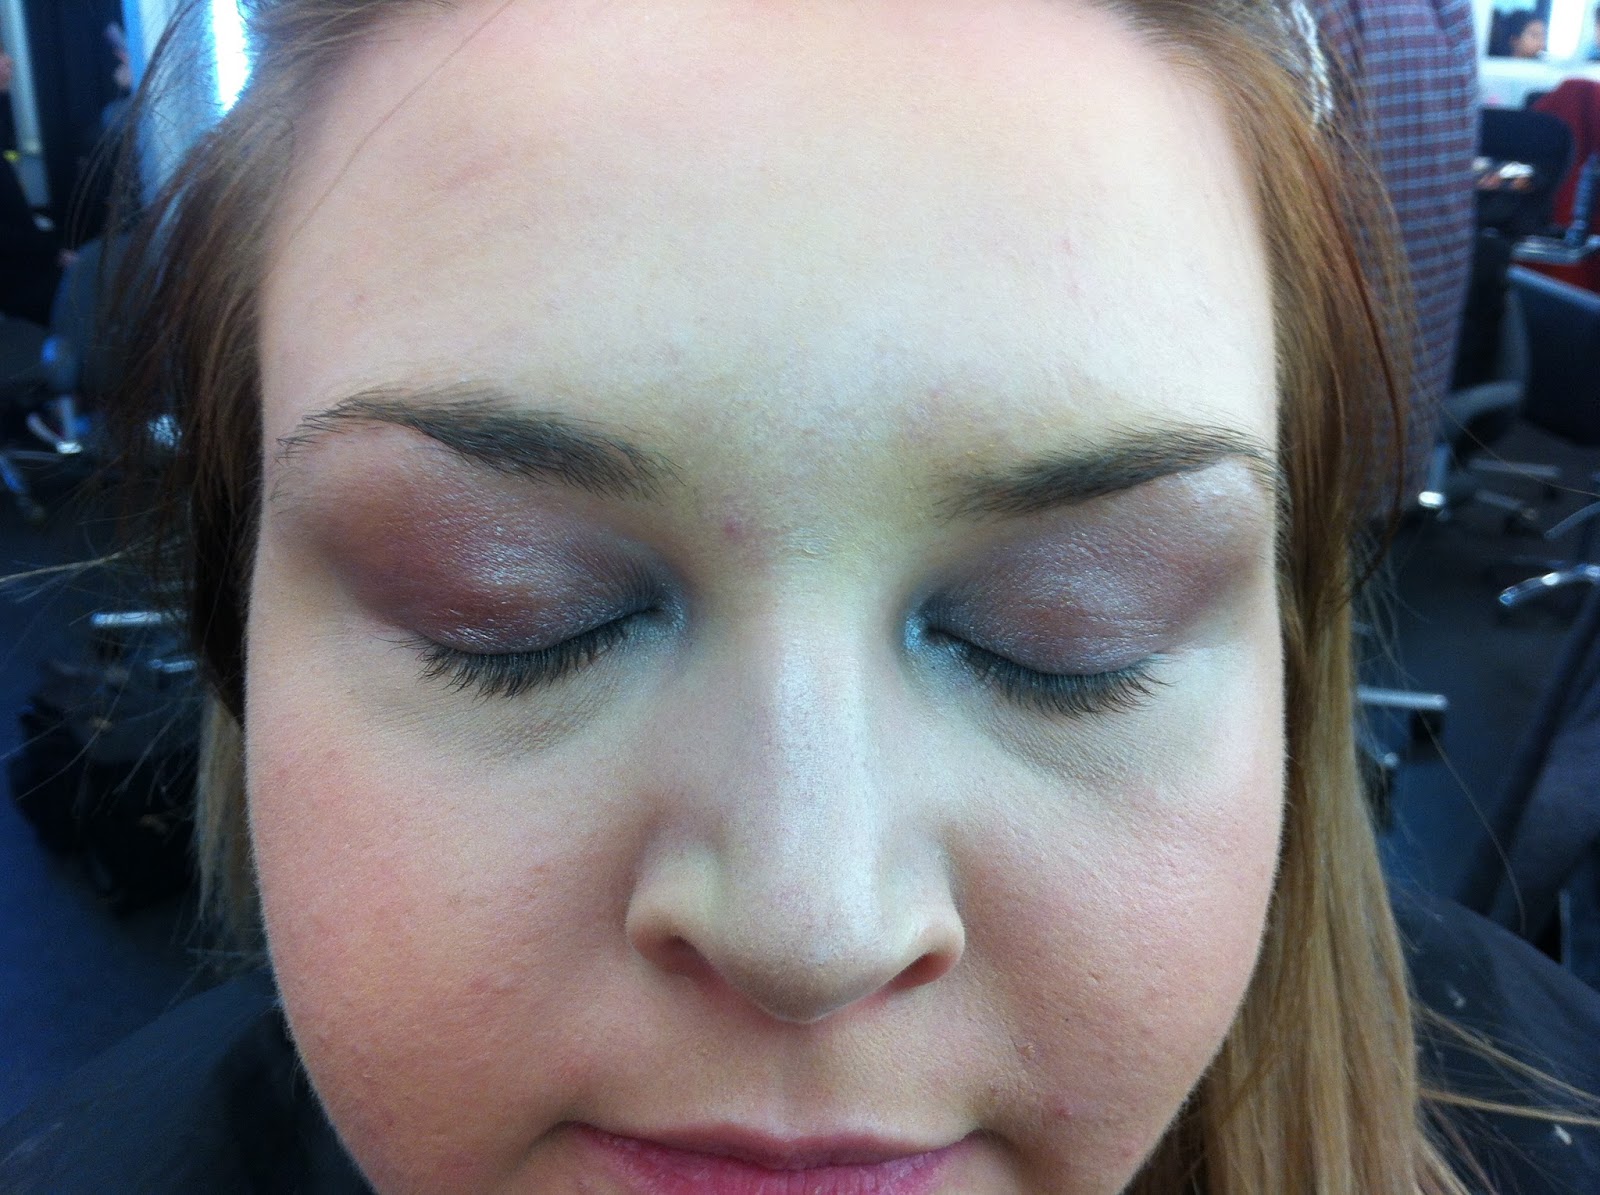
However, when I shot the look in the studio, the flash and the camera did not exactly pick up on the colours and gloss the way I wanted it to and it ended up looking quite flat. I did try changing the settings on the flash light to get darker lighting but as you can see it looks completely different to the look in the images above.
This means that I will have to create more depth on her eyes with eyeshadow, I will be using eyeliner in my evening look, too. alsoI think that if I shoot in the photo booth and maybe a soft box or a beauty dish (will best both).
Also, because I was focusing on the eyes and gloss I didn't use a bronzer which would help a lot and changed the look. It is in my designs and I will be using it for my beachy, tropical editorial look.


Final Look


Final Look
Close-ups
Model: Sophie Sommers
(created on: Mar 16 2016)

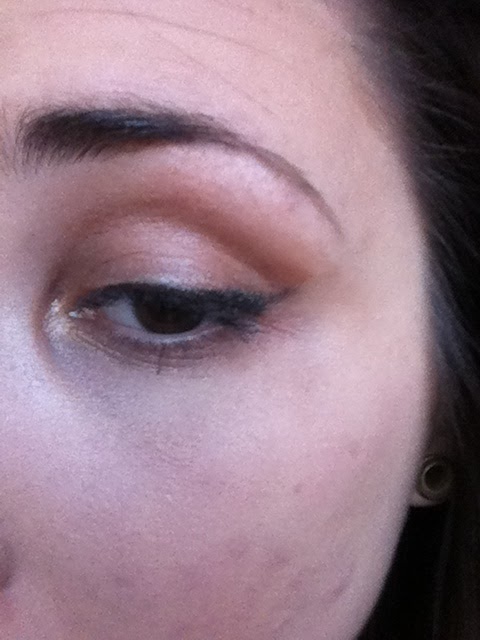
Vaseline on the left eye (right in the photo)

Vaseline on top of eyeshadow
Close-ups
Model: Sophie Sommers
(created on: Mar 16 2016)
Alexa suggested I try Vaseline on the eyelids, so on my way home I purchased some. I had make up on left from uni (Sophie did my make up) so I decided to apply Vaseline on top and compare. The eyeshadow I had on was shimmery, but the Vaseline made it go more matte and I really didn't like the effect of it. I will be using the clear gloss for my looks after all.

Vaseline on the left eye (right in the photo)
Vaseline on top of eyeshadow
Nema komentara:
Objavi komentar