As researched I realized the difference between the two is quite clear. Also, the examples I used are by Revlon and Nars just because I wanted to research both brands and see which one I want to choose for my project.
Advertising
Advertising is about selling the product to the customers. These kind of images usually have quite a clear concept; simple lighting and they mainly focus on the product(s) that they are selling. The background is usually plain, so it doesn't take the focus out of the product. The model's make up has the emphasis on that product e.g. lipstick, mascara, etc.
Also, usually the product in placed on the image as well as the company's logo and sometimes there is a description of the product or a phrase to go with it.
Examples:

Nars Advertising for Eyeliner Stylo - Redux
Photo by: NARS
Photo by: NARS
2012
(Source: http://www.thenonblonde.com/2012_07_01_archive.html#.Vq4Mb7LJzIX
Accessed: Jan 31 2016)

NARS Orgasm Color Collection Advertising
Fall 2012
Photographer: Francois Nars
Photographer: Francois Nars
(source: https://uk.pinterest.com/shrubry16/makeup-advertising/
Accessed: Jan 31 2016)

Nars Advert for Audacious Mascara and Kohliner
Fall 2015
Photographer: F. Nars
Photographer: F. Nars
(source: http://beautystat.com/site/makeup/review-nars-audacious-mascara-and-kohliner-fall-2015-collection/
Accessed: Jan 31 2016)

1950's Revlon Lipstick Advert
(source: http://vintagechampagnefever.tumblr.com/post/66251270903/1950s-revlon-advert
Accessed: Jan 31 2016)

Revlon nail polish advert
Model: Gita Hall
July Vogue 1957
(souce: http://weheartvintage.co/category/advertising-2/
Accessed: Jan 31 2016)

Revlon's Star Style collection
Model: Julianne Moore
2006
(source: https://uk.pinterest.com/pin/268597565252972587/
Accessed: Jan 31 2015)

Revlon Advert for Spring 2013
Model: Emma Stone
(source: http://www.hawtcelebs.com/emma-stone-for-revlon/
Accessed: Jan 31 2016)
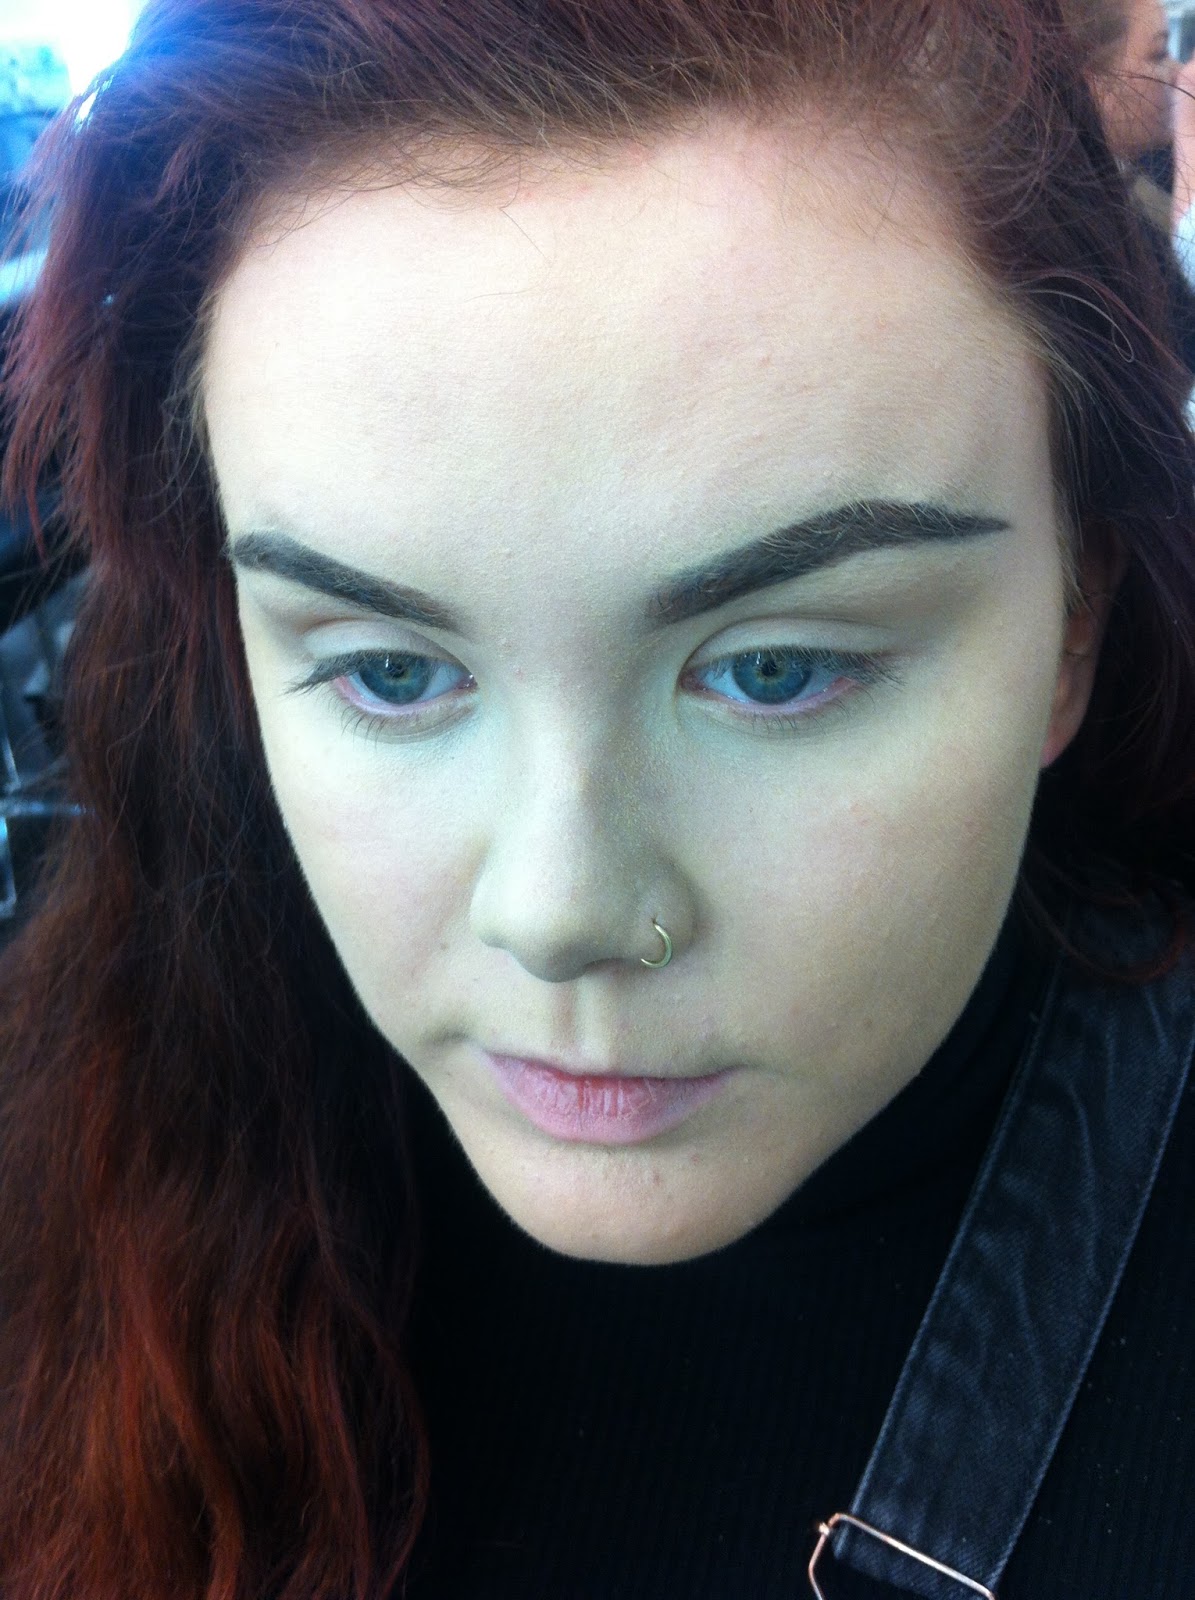
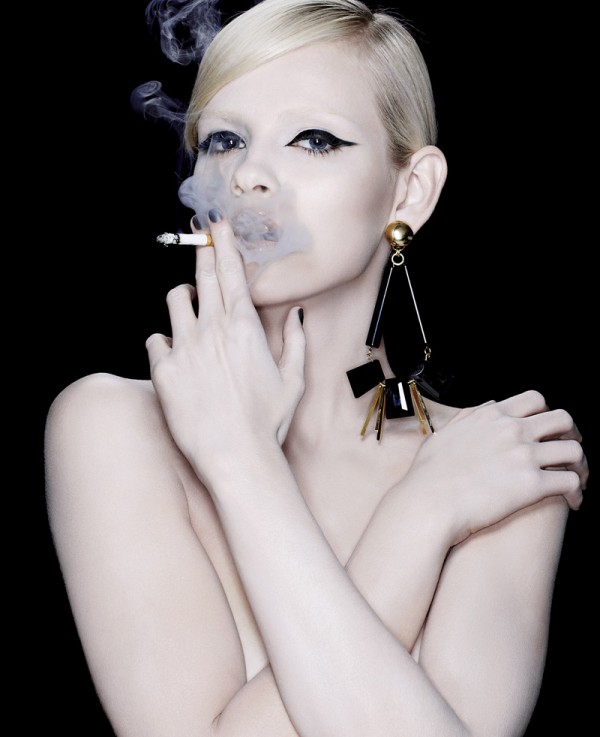
Editorial
Editorial photographs are taken with the intention to publish in magazines. Instead of selling the product they sell a story, mood and show how and where you could wear the make up. There is usually a theme and the setting is a lot more complex than advertising images. Lighting is quite important as it sets the mood.
Editorial photos never have product placement within the image.

Francois Nars's Homage to Guy Bourdin
"Dark eyes and deep hues make up exhibit A"
Photographer: Francois Nars
Styling: Patti Wilson
Posted by: Jane Lakworthy
Nov 11 2013
(source: http://www.wmagazine.com/beauty/2013/11/guy-bourdin-nars/
Accessed: Jan 31 2016)
Gita Lapina
By Francois Nars
Vogue Japan
April 2011
(source: http://www.fashiongonerogue.com/ginta-lapina-francois-nars-vogue-japan-april-2011/
Accessed: Jan 31 2015)

Vogue Paris
Jun/ Jul 2011
Model: Linda Evangelista
Photographer: Steven Miesel
MUA: Francois Nars
Hairstylist: Oribe
(source: https://fashionsocietybrisbane.wordpress.com/2011/12/18/vogue-paris-junejuly-2011/
Accessed: Jan 30 2016)

Vogue Nippon
MUa, Photographer: Francois Nars
Model:Anna de Rijk
Stylist: Patti Wilson - MiuMiu Collection
(Source: http://models.com/feed/?tag=francois-nars
Accessed: Jan 31 2015)

Vogue Nippon
MUA, Photographer: Francois Nars
Model:Anna de Rijk
Stylist: Patti Wilson - MiuMiu Collection
(Source: http://models.com/feed/?tag=francois-nars
Accessed: Jan 31 2015)

Francois Nars for V Magazine #91 Fall 2014
Model: Daria Stokous
Stylist: Patii Wilson
(Source: http://www.bloginvoga.com/2014/09/15/v-magazine-91-fall-2014-daria-strokous-por-francois-nars-editorial/
Accessed: Jan 31 2016)
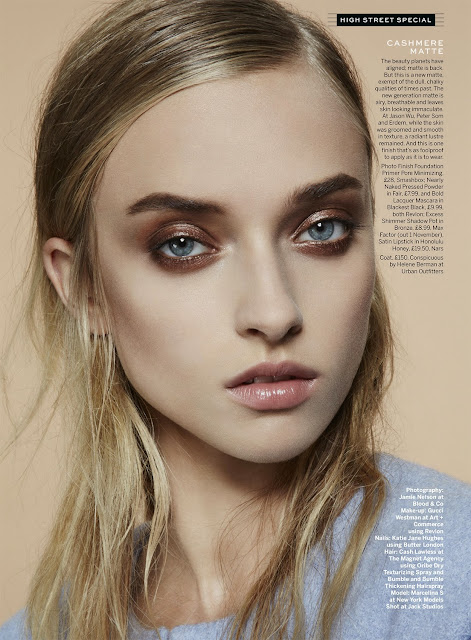
Stylist Magazine London
Make up artist: Gucci Westman (Revlon)
Photographer: Jamie Nelson
Hair: Cash Lawless @ The Magent Agency
Model: Marcelina Sowa @ New York Models
Beauty Editor & Stylist: Samantha Flowers
Posted by: Jamie Nelson fashion and beauty photographer
Oct 15 2014
(Source: http://jamienelsonphoto.blogspot.co.uk/2014/10/shoot-with-gucci-westmanrevlon-beauty.html
Accessed: Jan 31 2016)
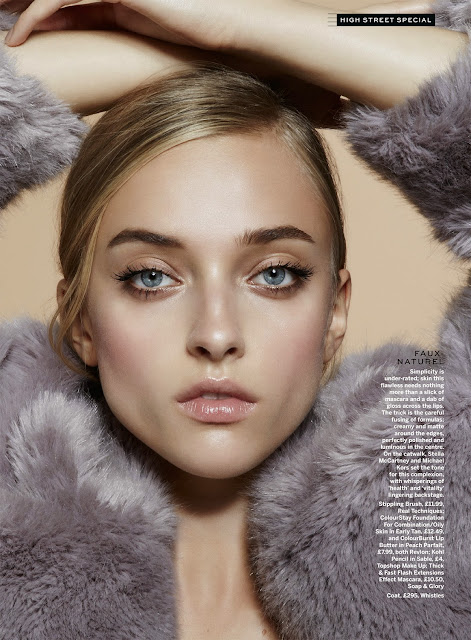
Stylist Magazine London
Make up artist: Gucci Westman (Revlon)
Photographer: Jamie Nelson
Hair: Cash Lawless @ The Magent Agency
Model: Marcelina Sowa @ New York Models
Beauty Editor & Stylist: Samantha Flowers
Posted by: Jamie Nelson fashion and beauty photographer
Oct 15 2014
(Source: http://jamienelsonphoto.blogspot.co.uk/2014/10/shoot-with-gucci-westmanrevlon-beauty.html
Accessed: Jan 31 2016)

Vogue China May 2011 - reprint from Vogue US April 2011
Make up by: Gucci Westman (Revlon)
Model: Frida Gustavsson (right), Unknown (left)
Photographer: Arthur Elgort
(source: http://r1ma.blogspot.se/2011/04/vogue-china-may-2011-cover-frida.html
Accessed: Jan 31 2015)
Vogue China
Make up by: Gucci Westman (Revlon)
Model: Miao Bin Si
Photographer: Zack Zhang
October 2011
(source:http://fashioncopious.typepad.com/fashioncopious/2011/09/miao-bin-si-for-vogue-china-october-2011-editorial.html
Accessed: Jan 31 2015)
Vogue China
Make up by: Gucci Westman (Revlon)
Model: Miao Bin Si
Photographer: Zack Zhang
October 2011
(source:http://fashioncopious.typepad.com/fashioncopious/2011/09/miao-bin-si-for-vogue-china-october-2011-editorial.html
Accessed: Jan 31 2015)
Revlon is a much older brand than Nars, and we can see how they evolved from the 1950's to today (Nars was funded in 1994). However, I prefer the clean look that Nars adverts have as well as the contrast. You can see how all three Nars adverts have the same background even though the images are promoting different products, collections, and are from different years. Their adds are mostly highly contrasted with dark backgroud and pale face models. I quite like that there is a style that they like and stick to. Revlon mostly uses celebrities (actresses) to promote their campaigns and products whereas Nars uses models, often unknown.
Therefore, I decided to go with Nars as my chosen brand for this project.
Svenler (Jun 2010) Definition: What is the difference between fashion photography, commercial photography and editorial photography? http://svenler.com/blog/definition-what-is-the-difference-between-fashion-commercial-and-editorial/ (Accessed: Jan 1 2016)