We did one look one very structured look and a softer one.
The first look that we did is very structured and requires a lot of styling products such as mousse, gel or setting spray. The more product the better the hold. This kind of hairstyle works better on shorter hair, preferably with layers.
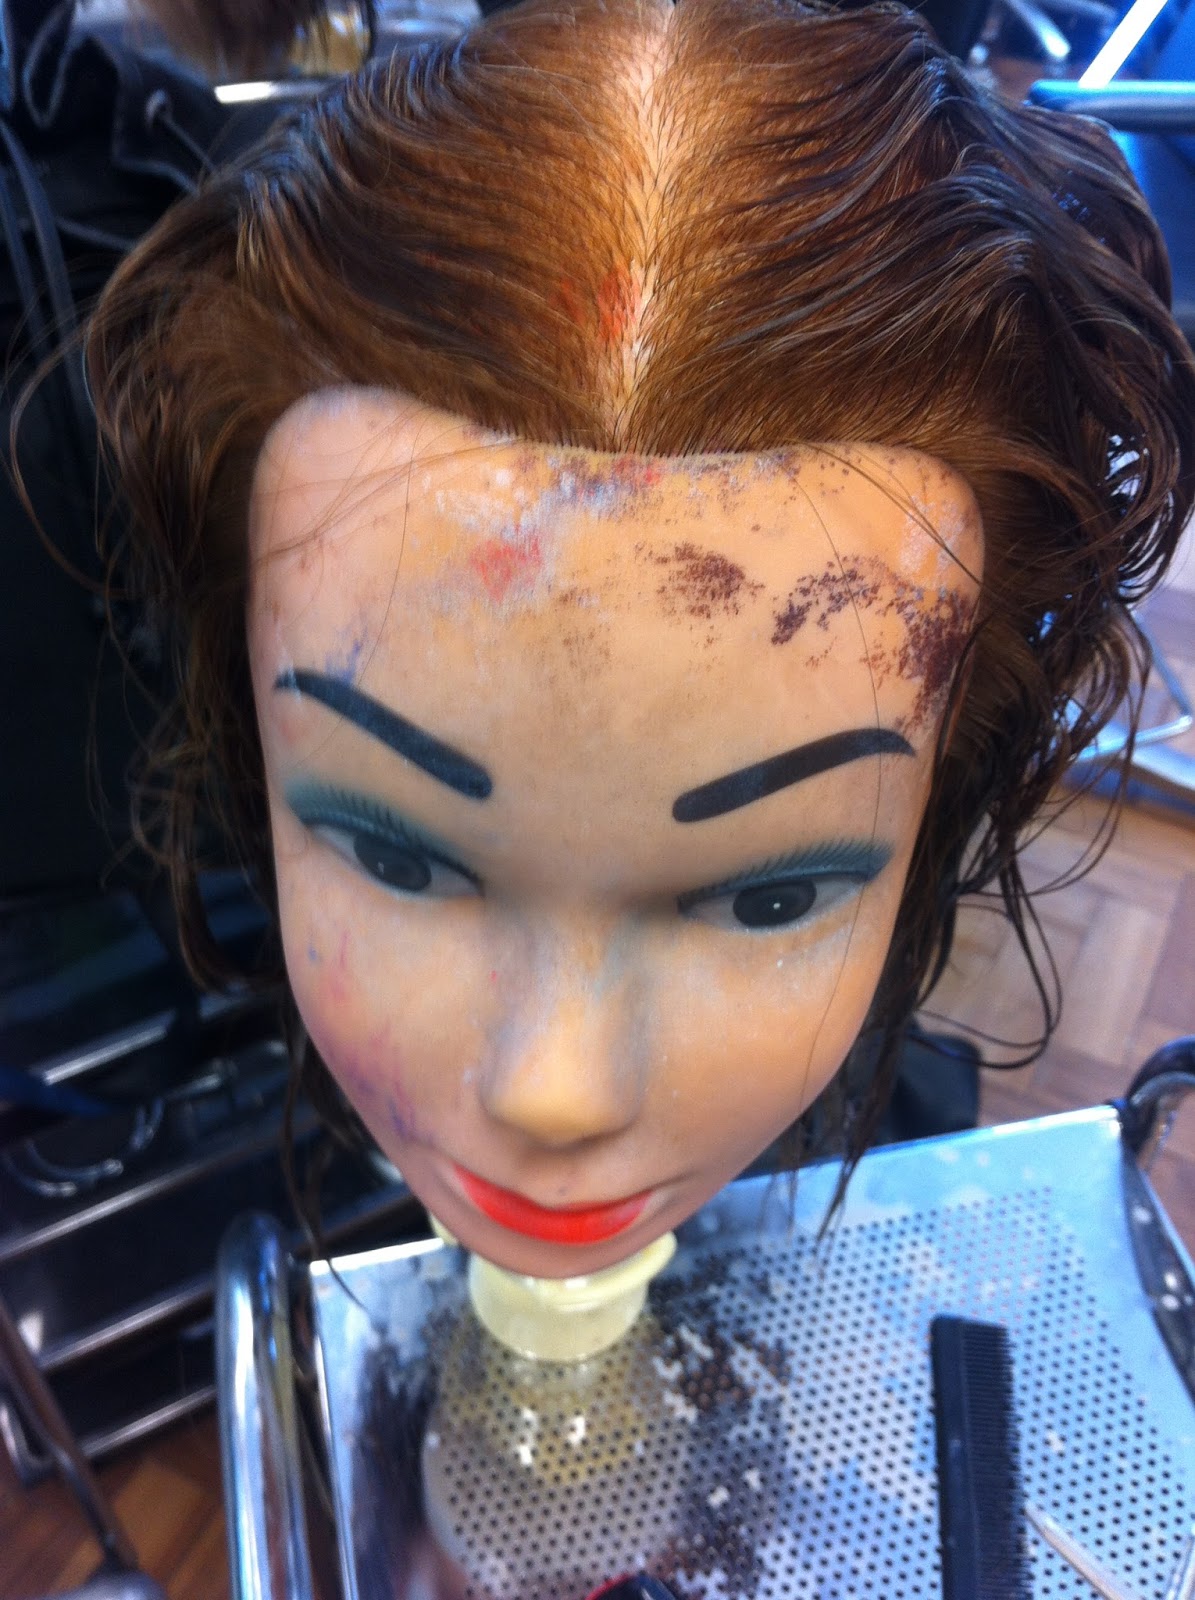
I started by wetting the hair, then I applied gel all over the hair, from the roots to the ends. We did only one section of the head but if you were to do a full look you'd work all the way around, one wave at the time. Start from the top and work your way down.
I started by combing the hair back, I placed two fingers onto the hair, then combed the hair to the front, while holding my fingers on the section. Then, using the same comb (pintail) I pushed the hair up, to create a weave. Then I combed the hair in the opposite direction, while holding the first wave between my ring and middle finger, and lifted the hair with the comb and placed it between my middle and index finger. I did that one more time and cliped the hair with metal clips to let it set.

Wet + gelled hair

Finger waves
1st attempt

Finger waves
1st attempt
I brushed it out and tried again, doing exactly the same as I did the first time, but this time I twisted the end of the section and pinned it in front of the doll's ear.
While the first time I was very confused about the directions and the way the hair goes so it took more time, this time it was quicker and easier. However, it looks a bit messy.

Finger waves
2nd attempt

Finger waves
2nd attempt

Finger waves
2nd attempt
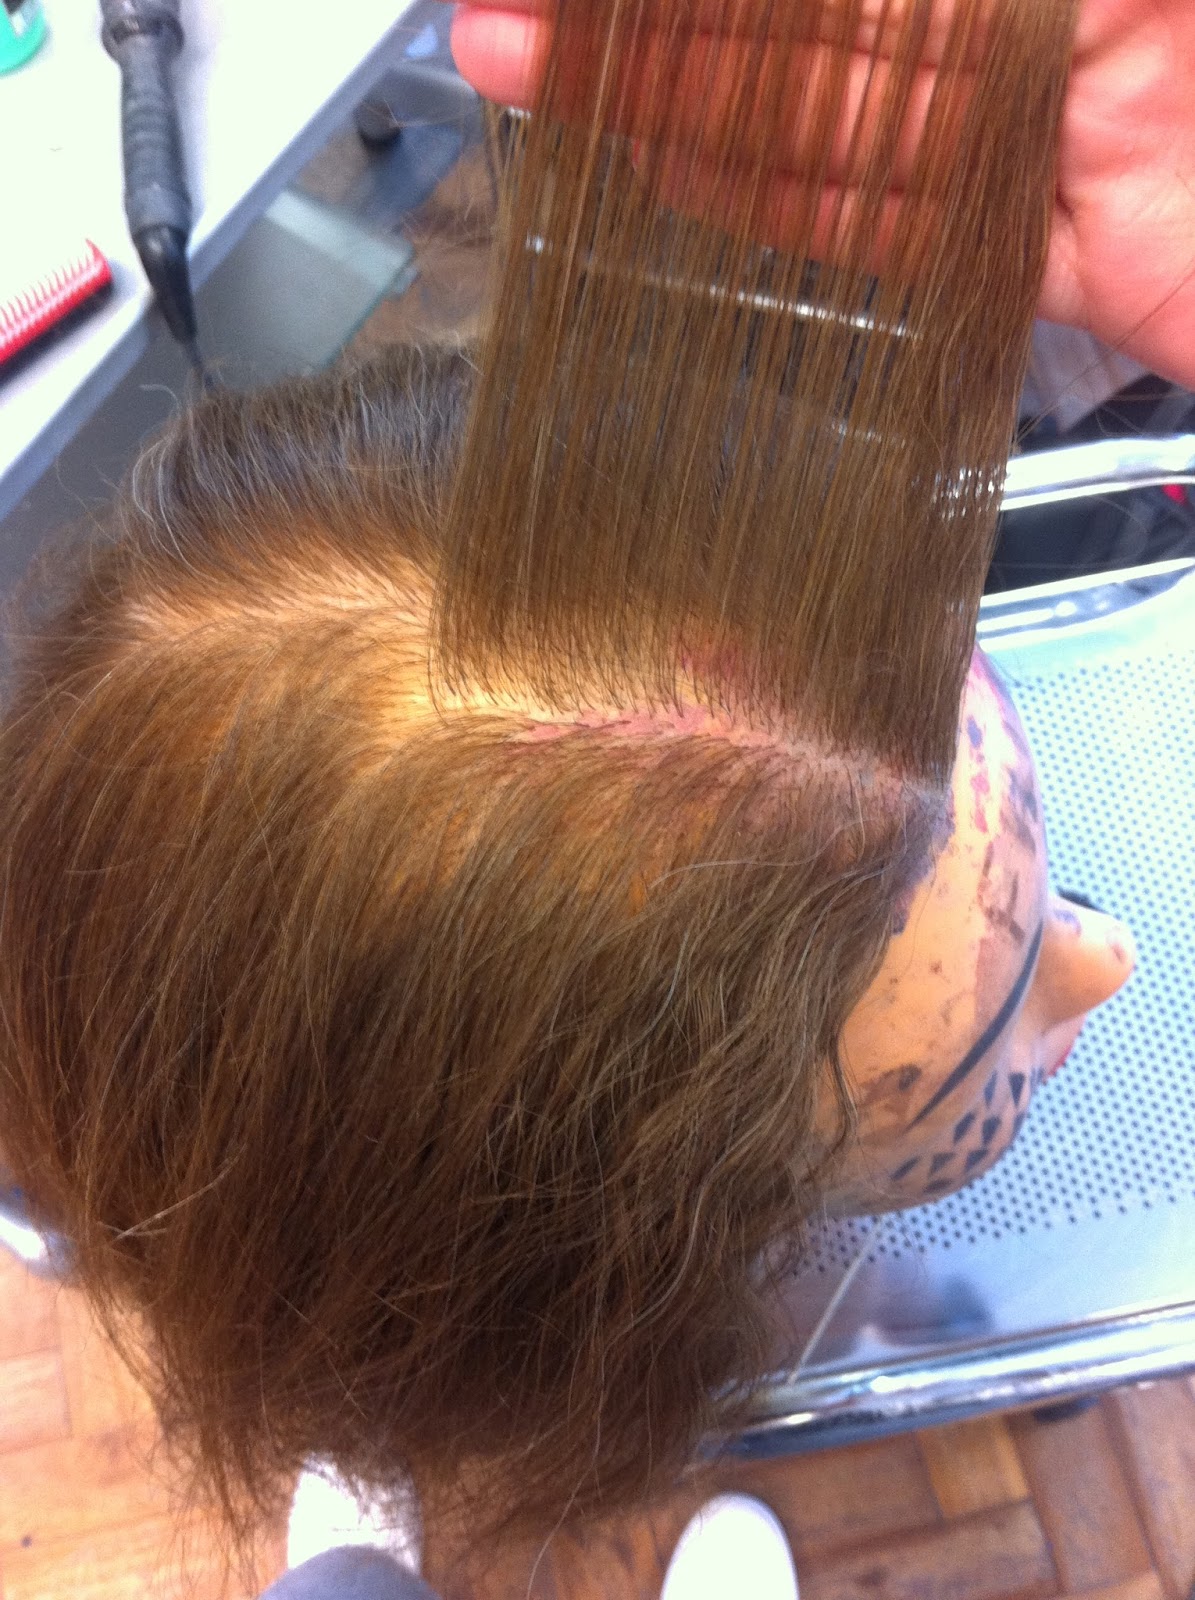
Then I moved onto the other side. while I was trying to lift the hair I realized that if I put two of my fingers onto the section (hair is combed back), I lift the hair enough that I can hold it with my fingers, I can use the metal end of the comb to lift it. This also helped me to create an even wave. Then I combed it to the front and repeated the same technique. I moved my hand and cliped the waves. Not as neat as it should be, but getting there slowly.

Creating a wave

Finger waves
3rd attempt

Finger waves
3rd attempt
Finger waves on both sides
To create the second, softer, look we used the smallest curling tongs we have in the studio to create lift and movement which will help us shape the waves. Heated rollers (tiny ones) could be used for this, too, and obviously, the hair has to be dry.
I used curling tongs. The sections have to be clean, and they all have to be the same size. I did five (on a different doll), on one side of the head. I pinned them until the curls had cooled and set, then brused them out using a Denman brush. Manipulate the hair into the desired shape, then you clip with the metal clips and paper or tissue (to avoid a line that the clip would create).

Hair before styling
Size of the section I am using

Curled hair

Finger waves
Softer look

Finger waves
Softer look
(all looks created: Apr 12 2016)
I never knew how to do finger waves, but I knew they were not easy to do. However the second and third time I did it I realized it is not hard, but it does require a strong hand and a lot of practice and patience. I prefer the wet, solid look to the softer because it is different and a lot more effective. I am not sure yet if I will use this technique in my final looks as I am not confident with doing finger waves yet, but I am working with wet hair and creating movement so this lesson was quite helpful and good for me to practice.
I am actually doing my test shoot for my editoral look tomorrow so the timing of this lesson was perfect!
Nema komentara:
Objavi komentar